Tuesday, August 14, 2012

Junk Drawer Organization


Anyone else have a "junk drawer" that resembles this?  It seems no matter how hard I try it's been impossible for me to keep it clean.

I like to think that I go through the drawer pretty regularly, get rid of the junk and then reorganize.  Hmmmm - is pretty regular every two years?  My fantasy was shattered when I found a ticket stub to "Dear John" dated 2010.  

Does anyone know the definition of crazy?  It's doing the same thing over and over but expecting different results.  That's exactly what I do with my junk drawer.  I go through it, make everything neat and clean expecting it to stay that way.  

This time I decided to take a slightly different approach.  This time I took the 5S approach to my organization.

First step was to SORT.  Everything was taken out of the drawer and sorted.  In addition to the toolbox items pictured below, I also came across:  four flashlights, two old cell phones, 14 used inner cores from dog bags (I have to admit, those peeved me a little), three chargers/computer cords, a ruler & compass, five partially used battery containers and quite possibly a partridge in a pear tree.  No wonder I couldn't ever find anything!


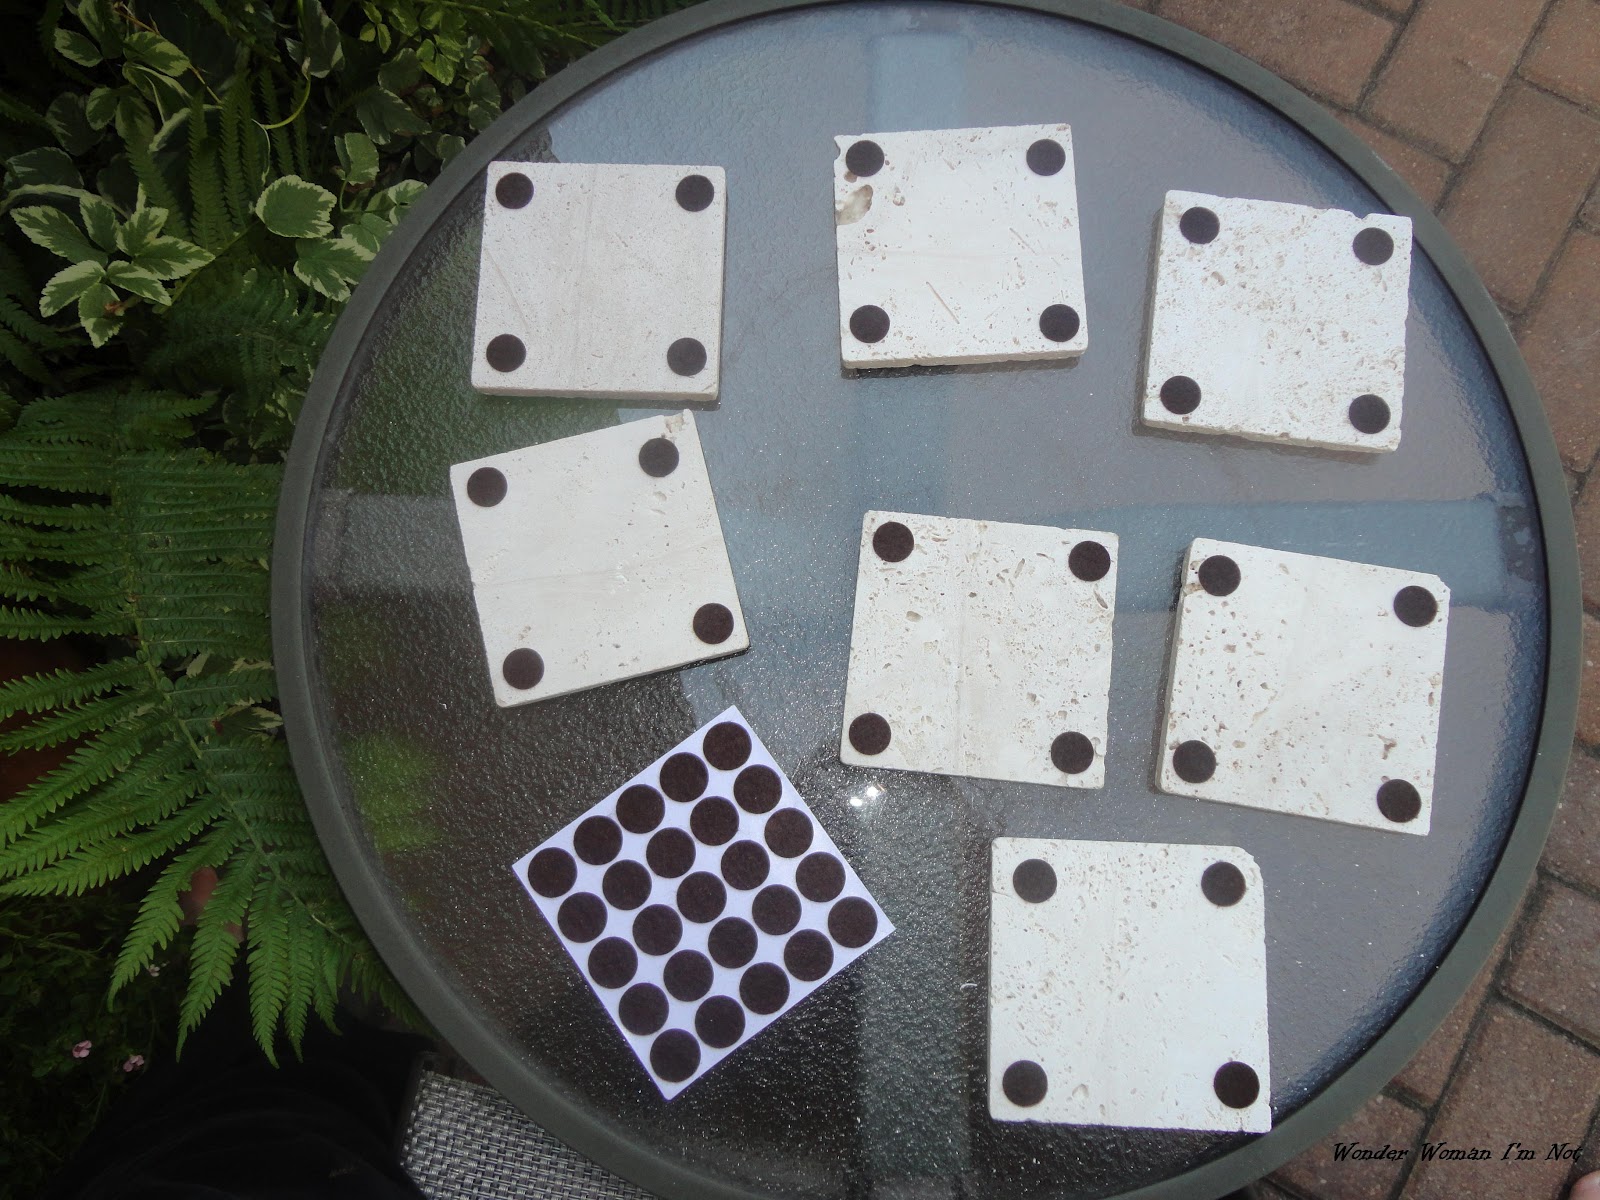
Toolbox items that belong in the garage!

The second step that I took was to SHINE.  Typically shine is the third step but I like to clean the area before I start putting things back.  Cleaning the area pretty much consisted of wiping the drawer down with a wet rag.

The third step (typically the second) was to SET IN ORDER.  This is the step that always excites me.  Figuring out what didn't work and making it better.  To "set in order" I usually determine what my real problems are.  Here is what I determined:
  • Half used battery packs are thrown in the drawer.  The opened packages waste a lot of space and the batteries fall out making it difficult for me to know what batteries I really have
  • Writing utensils are thrown in the drawer getting caught in the mess.
  • Birthday candles fall out of the opened package creating waste (who wants to put a grubby candle in the cake?!?)
  • Current dog walking bags don't fit the two different holders that we have.  Loose bags were creating a lot of chaos

For me the solution was fairly simple.  I used baskets that I had bought at the Dollar Store (three for $1) to hold the batteries (eliminating the need to keep the packages) and the writing utensils.  I used zippered sandwich bags to contain the dog bags and birthday candles.  The scissors are situated between the baskets while I decided the flashlights and matches would be fine as is assuming the rest of the drawer was sustained.


The fourth step is STANDARDIZE.  Since this is our home I skip the standardize step, visitors would probably think I was nuts if I hung up standardization pictures!.  At work we take pictures of what the space should should look like every night.  I've found that having baskets so that the family knows where things should go works well for us

Finally, we'll need to SUSTAIN this change.  Overall my family is fairly good at the sustain part.  They aren't perfect so periodically I do need to go through and straighten up areas that I have 5s'd but it's usually only a straighten up versus a full blown project.

I guess the proof will be if I find a two year old movie stub next time!

Update:  A reader made me aware of a recent article she read regarding battery care so I did some checking.  According to the Rayovac and Energizer websites batteries should be stored in a cool, dry location (like a drawer but not in a refrigerator or freezer).  Ideally you would want to store the batteries in their original packaging.  If you do not store them in the original packaging you should definitely NOT store them with medal objects.  There is a risk of battery leakage or heat which could result in a fire.  If you don't store your batteries in their original packaging (which in my humble opinion needs to be improved if you want us to use the original packaging) you should make sure that the positives and negatives are all facing the same way.  Mixing them up (i.e. positive facing negative) could drain the batteries making them less effective.  Thanks Carol!

You might also like:

Sunday, August 12, 2012

Weekly Menu


This is an odd week for us, the kids left this morning for St. Louis to visit their great-grandparents.  I asked Mike this morning what he wanted on the menu, his response was "let's just eat out every night!"  I was on-board with that until he found a belated birthday present he wanted (and I had not budgeted for).  I gave him his choice, the toy or dinner out every night.  Of course he chose the toy.  Ugh - I guess I won't get away from menu planning after all.

Last week I played around with a pineapple upside down cupcake using a box cake mix.  How easy is that?  Be sure and check it out if you haven't seen it yet.

Here's what we'll be eating this week.

Grilled chicken
Salad (spinach, cold chicken, glazed pecans, Craisins, bleu cheese crumbles with a raspberry vinaigrette dressing)
Hamburgers
Pizza on the Grill
Taco Salad
Fend for yourself (I have a meeting one night)
Dinner with friends

Since the kids won't be around dinner will be pretty casual.  We're keeping it pretty simple so we'll probably just eat when we feel like it versus trying to eat at a specific time.  Hopefully the weather will be nice and we'll be able to take some evening rides on the bike.

What's on your menu for the week?

I'll be linking up at I'm an Organizing Junkie
.

Saturday, August 11, 2012

Some Days it Seems as if the World Hates Me

Do you ever have one of those days where it feels like the world is conspiring against you?  The days where every time you turn around there is one more thing weighing you down?

I'm having one of those days today.  In addition to the headache I woke up with (the same headache that I've had for the last week and a half), the eye swollen shut (allergies) and my plugged up ear drum (don't ask me why), I walk into the living room to find this:


Yes, some naughty girls found a paper towel in the trash can that they thought was pretty interesting.  I guess it could have been worse.  Oh wait, it was.......


This would be the only pair of high heeled black sandals that I currently own.  This was going to be the last summer they were going to get me through but I did still need them for the next few weeks.  Mama wasn't very happy with those chewing pups.  Of course Mike's response was "I guess you should put your shoes away".  Really!?!  Having only one pair of work sandals would be the down side to living a simplified life


Then of course there are the kids who don't seem to know how to put a clean pot away.  In the cabinet.  Directly below the pot.  Are you kidding me?!?

The next straw would be when I go out to drive Belle to work and I find that I'm completely blocked in.  Ugh!  I really hate playing musical cars.

The smart thing at this point would seem to go to back to bed and pull the covers over my head.  Oh yeah, that won't work because it's sheet washing day and I thought I'd start the day out right by stripping the bed as soon as I got out of it.

That will teach me to be on the ball.

I hope all of you have a wonderful weekend!


Wednesday, August 8, 2012

Pineapple Upside Down Cupcake


Pineapple Upside Down Cupcake is one of our family favorites.  I decided to try a cupcake version that would be a little easier to serve.  My son gave this recipe a thumbs up (his mouth was full of cake at the time so that's pretty much all he could manage).

To keep it simple I used a boxed yellow cake mix. Of course, your favorite from scratch recipe would work just as well.

Pineapple Upside Down Cupcake

  • 1 yellow cake mix (prepared to directions)
  • or your favorite from scratch cupcake base recipe
  • 1 large can crushed pineapple (drained - set aside juice)
  • 3/4 stick of butter
  • 1 cup brown sugar

In a saucepan over low heat melt the butter and brown sugar. Add the drained pineapple and let caramelize (about 10 - 15 minutes) stirring frequently so that it doesn't burn.

Prepare the batter and fill cupcake tins 1/2 full (if you aren't using liners be sure and thoroughly grease the muffin pan). Be sure to leave some of the batter as you will want to go and top off each muffin later. Drain excess syrup from the caramelized pineapple and add a small teaspoon full to each muffin. "Top off" the cupcakes with the remaining batter leaving enough room for the cupcakes to rise.

Bake according to the cupcake recipe you are using.

Frosting 

I'm going to give you two frosting options.  The picture above is option one but personally I prefer option two.

Option 1- Regular Frosting

1 stick butter
3 1/2 cups powered sugar
Pineapple juice drained from crushed pineapple
2 Tablespoons crushed pineapple (optional)

Soften the butter, add to your mixing bowl and cream. Gradually add in powered sugar until well blended. At this point add pineapple juice to get the frosting to the desired consistency. Fold in the crushed pineapple.

To frost the cupcakes put frosting in zip top sandwich bag.  Cut corner off and pipe in a circular motion over the top of the cupcake

Option 2 - Homemade Whipped Topping


1 pint heavy cream
1 cup sugar
1/2 teaspoon of vanilla

Combine cream, sugar and vanilla with mixer until stiff.  You will want to scrape the bowl down to make sure everything is well combined.


If you go this route just make sure that you aren't frosting until the cupcakes are ready to be eaten.  The whipped topping will not keep well on top of the cupcakes

Enjoy!

This recipe has been featured at:

Twinkle in the Eye
House of Hepworths

Be sure and check out these sites for other great ideas.

You might also like:

How to Make Coaster Tiles
Applesauce Cupcake with Brown Sugar Frosting
Breakfast Bowls

Sunday, August 5, 2012

Weekly Menu


Guess how I started my morning?  I took a picture to give you an idea.  Yep, I was a muffin bakin' mama this morning.  Mike has some training and asked me to make a bunch of muffins for the team to eat.  When he first asked me I thought "Oh good, I can try out a bunch of new recipes for my blog" quickly followed by the second thought of "Are you crazy!  Use box mixes and just get the job done!".  With the exception of my blueberry muffin, everything is from a mix.  I ended up making Cranberry Orange, Banana Nut, Chocolate Chip and of course Blueberry.  They look beautiful - let's hope they taste great too.

Since Mike isn't going to be home for dinner this evening the kids (namely Belle) and I decided to pull out a winter dish and make Belle's favorite chicken and stuffing dish.  We certainly are shaking things up this week at the WWIN household, aren't we?

If I feel up to it I may try out a new cupcake I've been wanting to make.  Of course, after all the muffin baking I did this morning I don't know that I can stomach looking at another muffin tin right now :)  Here is my cupcake from last week.  This is a new recipe so be sure and check it out.

Applesauce Cupcake with Brown Sugar Frosting

Here's our menu for the week.
I tried something new this week.  I video taped a tutorial for some coasters which I'm giving away.  To enter to win the coasters and view the tutorial click here

I'll be linking up at I'm an Organizing Junkie

You might also like:


Saturday, August 4, 2012

Tile Coaster Tutorial

A while back I was introduced to these tile coasters during a party.  Everyone at the party had the opportunity to make one.  I chose the word "SIMPLIFY" as that was a goal of mine at that time.  I'm still using it but haven't quite accomplished that goal!  These were so easy that I've been meaning to make a whole set but have never gotten around to it - until now.

I decided to try something a little different.  In addition to the step by step directions below I've also done my first vlog posting!  The video below will show you step by step directions to make the coasters.  A special thank-you to my son Michael who helped with this "production" and listened to his mother go through a few test runs before declaring my very first vlog to be "good enough".  Do you like the video tutorial?  I'd appreciate feedback as I look to evolve my blog.


Instructions for Tile Coasters

The coaster is made out of 4" floor/wall tiles with words rubbed or painted on.  4" tiles can be picked up at any home improvement store with a flooring section.  The smoother the tile the easier the words will transfer.  When I was shopping for tiles I came across these beautiful tumbled travertine tiles.  What I like about them is their imperfection.  However, the imperfection of the tiles also translates into imperfection when transferring the words.


Here are the items you will need:  4" square tiles, felt backing, rub on words, scissors, blunt edge object to help transfer.  I used a pan scraper but you could use a Popsicle stick or other object as long as it's not sharp.


With a damp washcloth, wipe the front and back of each tile.  On the back of each, in each corner apply a felt pad.  In this example I used a tile with a finished back.  If your tile has an unfinished back I would recommend cutting out a piece of felt (just a tad bit smaller than the tile itstelf) and glue it to the back so that the back of the tile has a finished look as well as not scratching the surface.


Decide which words you want and cut out being careful to leave the protective back on.  Decide which word you want on each tile and the approximate position.  Natural stone tiles (such as these) may have different colors running through them.  You will want to make sure that each set of coasters is similar in color


Peel the protect back off (be careful not to scrape the words) and position where you want them.  Because these tiles are "imperfect", I tried to maneuver my words where there weren't a lot of holes so they may not be perfectly centered.  Rub across the words fairly firmly.  When you believe that you have rubbed hard enough GENTLY start to peel away the film.  I've found that what works best is to keep your utensil on the film as you are lifting it.  If some of the word hasn't transferred it's then easy for me to put the film back down and rub some more until the word is transferred appropriately.  If you want you could use a small piece of tape to help hold down transfer paper.

If you want, at this point you could seal with a paint sealant.

Congratulations to Tammy, the winner of the coaster giveaway.  I've contacted you via e-mail for shipping details.

Are you ready for the Giveaway?


Beige coasters with blue friendship quotes
Beige coasters with pink and brown friendship quotes


Cream tumbled travertine tile with black print


One reader will win their choice of one set of coasters from the three options above.  There are five opportunities to enter:

1.  Leave a comment
2.  Follow me on Twitter
3.  "Like" me on Facebook
4. Follow Me on Pinterest
5.  Receive Wonder Woman I'm Not via e-mail (RSS feeder is on the right hand side of this post)

One winner will be picked at random and notified via e-mail.

Love these coasters but don't have the time or feel like your handy?  Check out the link above to my Etsy store.

Thursday, August 2, 2012

The Art of Raising Children


Guest Post by very.co.uk

If there’s one subject guaranteed to get most people’s goat it’s got to be the thorny talking point that is parenthood. Of course, you can moan about your children to your heart’s content, but woe betide anyone else who deigns to criticise or merely pass comment on your child-rearing conundrums.

You may well be unleashing a torrent of trivia about your tiny tot and divulging every detail of a current concern but that doesn't mean you actually want anyone else’s input let alone their advice. A comment from a well-meaning family member or friend who tries to impart the benefit of their wisdom is likely to be met with narrowed eyes and flared nostrils.

It’s often advisable to remember not to offer your advice to parents when they are complaining about their little ones. Just act as a receptacle for the moaning and mollycoddling and try not to look too distant or disinterested. Imagine how those long-suffering health professionals must feel being on the receiving end of a scorned parent, unhappy with some unwanted advice.

Unfortunately, a criticism of your child does feel like a criticism of you and very often a seemingly throwaway remark can feel like it has a sting in the tail. A thinly veiled criticism can easily be disguised as an observation. Whether your mother-in-law feels the need to divulge her disagreement with you on some aspect of your child-rearing choices, or an acquaintance can’t help but congratulate herself on her own motherly accomplishments, then the casual observation somehow feels like an insult. If you question the intention behind the comment, then the observer can feign mock horror at your absurd sensitivity.

After all, whether we intend it or otherwise, our children are an extension of us until they are old enough to state their own independence – a day many of us secretly dread. If a father chooses to wear something in a Fred Perry pastel shade, then you can almost guarantee that the son will be seen sporting a gothic get-up. You spend your life defending your child-rearing choices from the critical gaze of onlookers, only to end up on the receiving end of daily criticism from the very children who you defended – a perfect example of Catch 22!


You may also enjoy:


The Wonder Woman Complex Lives On
Making Marriage Work
Frugal Gardening


Any links contained within this post are not my affiliate links